HTML Readonly
Overview
An input element that has the readonly attribute set does not take part in constraint validation as the user cannot alter the input.
Text, search, url, tel, email, password, date, month, week, time, datetime-local, number <input> types and the <textarea> form control elements allow the readonly property. Matching if present on any of these items and input types is the :read-only pseudo class. The :read-write pseudo-class will match if the event that the property is omitted.
The attribute cannot be used with input types that are already non-mutable, like radio and checkbox, or that cannot begin with a value by definition, such as file input types, range, and color, as they both have default values. Additionally, it is not supported on hidden as it is unreasonable to expect a user to complete a form that is hidden. Furthermore, it is not compatible with any button type including the picture.
Note: The readonly property does not apply to other controls (such as buttons and checkboxes), as there is no practical way to distinguish between their being read-only and disabled. Only text controls may be set read-only.
An input also falls under the :read-only pseudo-class if it possesses the readonly property. On the other hand, inputs that match the :read-write pseudo-class but do not have the attribute set support the readonly attribute.
Interactions between attributes
Read-only controls are those that can still operate and be focused, whereas disabled controls are those that cannot receive focus, are not submitted with the form, and often cannot function as controls until they are enabled.
Required has no bearing on inputs that also have the readonly attribute provided since a read-only field cannot have its value altered by human interaction.
A script is the sole method available for dynamically changing the readonly attribute's value.
Note: The necessary attribute cannot be applied when an input has the readonly property provided.
Usability
Usability browsers show Readonly.
Validation constraints
If an element is read-only, it does not take part in constraint validation and the user cannot edit its value.
Syntax:
<input readonly>
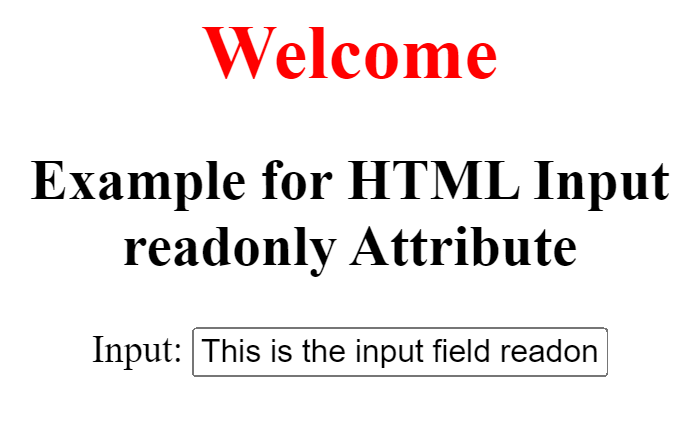
Example: The readonly attribute of HTML is used in this example.
<!DOCTYPE html>

<html>

<head>

<title>Example for HTML Input readonly Attribute</title>

</head>

<body style = "text-align:center">

<h1 style = "color: red;">

Welcome

</h1>

<h2>

Example for HTML Input readonly Attribute

</h2>

<label>Input:

<!--A readonly input-->

<input type="text" name="value" value =

"This is the input field readonly" readonly>

</label>

</body>

</html>
Output
How it operates
In this example, a textarea, an email input field, and a username input field are all given the readonly property. Users are not allowed to edit the data in these areas; they can only read it.
As an illustration
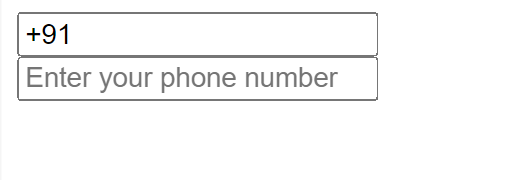
We accept the phone number of user as input in the illustration that follows. We will stop the user from modifying the country code by adding the readonly property on the country code input element. The default value in this case is +91.
Code:
<html>

 <head>

 </head>

 <body>

   <div id="content">

       <!-- readonly attribute -->

     <input type="text" value="+91" readonly>

     <input type="number" placeholder="Enter your phone number">

   </div>

 </body>

</html>
Output:
The reason behind readonly
The readonly attribute's main use is to limit user input for particular form components.
The readonly element lets users access the material but restricts them from making any modifications, in contrast to the disabled attribute which forbids any interaction.
Disabled versus read-only
The readonly and disabled properties behave similarly on the surface. They prevent the user from changing the value of the element. But there is a significant distinction. When the form is sent to the server then the value of the readonly element will be included. A deactivated element's value won't be sent to the server.
Top Techniques
- When you wish to show data that should not be changed by the user then use the readonly property.
- Use caution when utilizing readonly for sensitive data as it just stops inadvertent modifications and may be readily circumvented by people with a basic understanding of technology.
- Make sure your forms are compatible with various browsers by testing them frequently.
In summary
One helpful technique for managing user interaction with HTML form components is the readonly property.
Web forms that are both safer and easier to utilize may be made by properly integrating this feature.